Cutting Holes in Your Van
Windows, Skylights and Fans
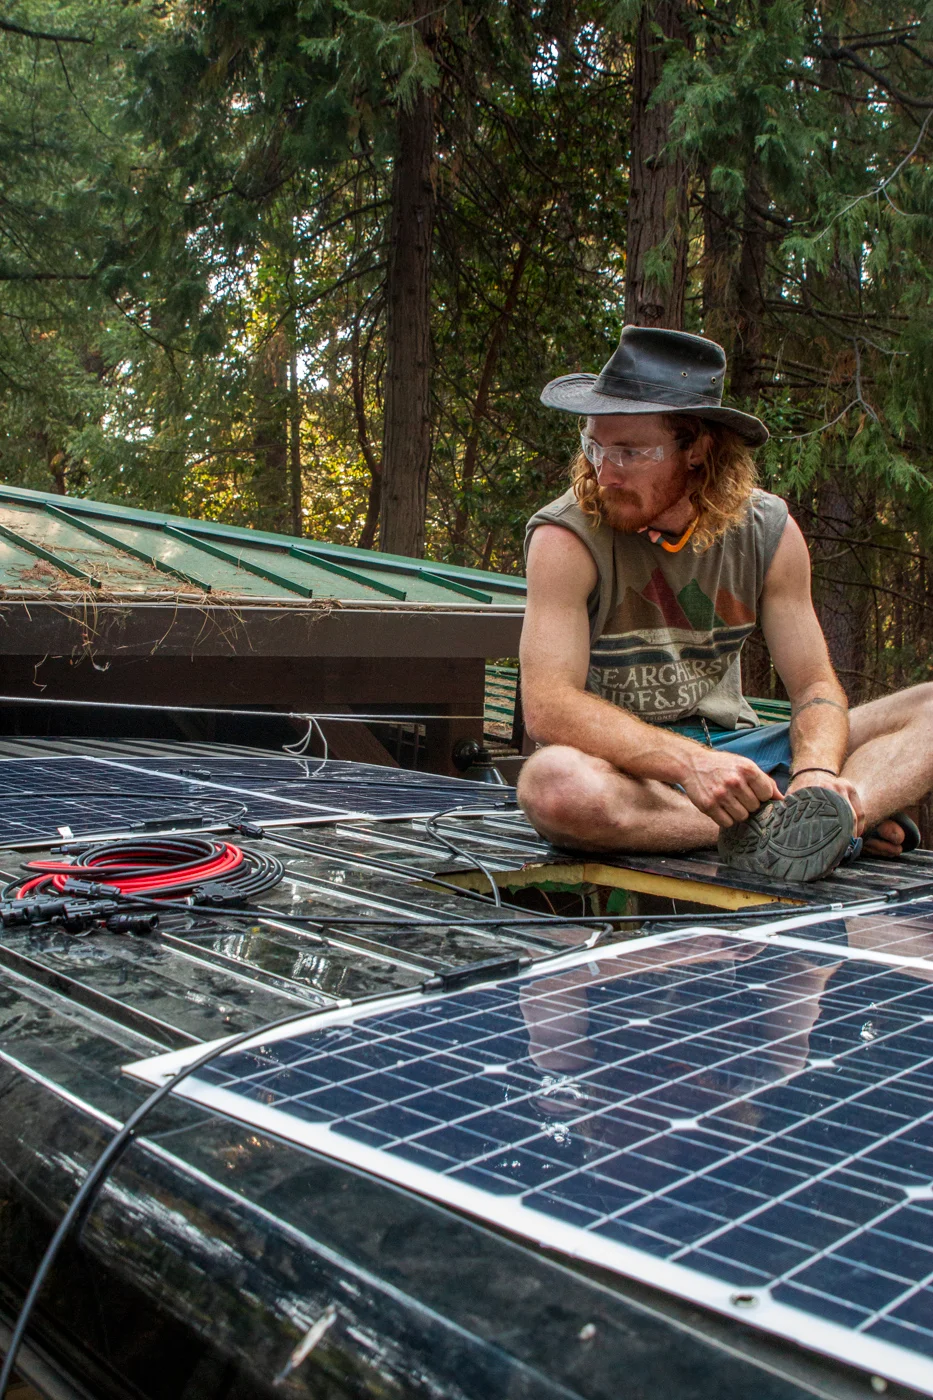
Time for the Scary part
Cutting holes in your van can be daunting! But it’s a necessary evil for any swaggin’ van build. Read up, brace yourself, and get cutting!
Now that your van is all cleaned and prepped, it’s time to put some big holes in it. Fan installation is relatively simple. Start with the fan and then make the call if you are ready to install your own windows or skylight. Window installation might be a good time for professional help.
Click on the photos for more product information.

Maxx fans are very popular but a little more spendy, 10-speeds plus reversible air flow.

Deluxe version
Tools you will need: jig saw, metal blades, butyl tape, marine sealant.

My first jig saw.

After a couple vans I upgraded to this guy.

Assorted jig saw blades.
Don’t go too cheap on your jig saw; you will use this a lot throughout the build and often on visible cuts. I started with the Makita. It works great for most things, but struggled to cut the curves in my 1-1/2 inch thick countertops. The Bosh is a higher quality saw.

Butyl tape is used to seal your fan and windows

Marine sealant is used for additional water proofing of the fan
Fan Installation
Step 1: I like to start by drilling a hole from the inside in the center of where I want the fan to be positioned. Then, climb on top and mark your cut lines on the roof with your new hole as the center.
Step 2: Cut the hole for your fan. Start by drilling holes in the corners large enough for your saw blade to enter. I like using a jig saw with a metal blade but an angle grinder can also be used. Remember to breathe. You actually have about 1/4 inch of wiggle room. If your cut is a little off, it’s not a big deal.
Step 3: Paint exposed edges and sweep out metal shavings (they love to rust).
Step 4: Add Bytul tape along the outside edge of your new hole. If your roof is ridged use the Bytul tape to fill the low points.
Step 5: Frame your new hole. I recommend using 2x2’s but that might vary depending on the roof structure of your van. The frame can be secured by the screws supplied with the fan. This frame gives you something to anchor your ceiling boards to down the road.
Step 6: Drop your fan into the new hole. Secure it to the inner frame you made with the screws provided.
Step 7: Add a healthy amount of Marine sealant to the outer edge of the fan and make sure to cover the screw holes as well.
Step 8: Connect the wires to a 12v power supply and enjoy the airflow. Take note that some fans use a black wire as the +.
Step 9: Once your ceiling is finished cut the interior trim piece to the desired thickness and screw into the fan for a finished look.
Hopefully, your fan install went smoothly and you’re ready to move on to windows or a skylight. The installation process is very similar but the cut involves curves and is therefore more difficult and stressful, but here are a few steps to get you started.
SKylights

I installed a skylight in my latest build and I fell in love instantly. I might even do two skylights in the next build. Skylights are perfect for flooding your van with natural light while maintaining privacy. For this reason I much prefer skylights over windows.
Step 1: Follow steps 1-5 for fan installation but your inner frame wont get screwed in.
Step 2: Drop in the skylight
Step 3: Finish your ceiling before it starts raining.
Step 4: Add the trim ring (supplied with the skylight) by screwing it to the skylight form the inside. Most auto skylights are not designed for an insulated roof. Because of this you will need to purchase new screws and size your screws so they span from trim ring to the frame of the skylight but don’t poke through the roof when they get tightened. You will also need to add weather strip to fill the gap created by an insulated roof.
Step 5: Tighten screws to the point where the Bytul tape starts to ooze out from under the outer lip of the skylight. The Bytul tape might continue to ooze for up to 48 hours.
Step 6: Trim away the excess Bytul tape and add marine sealant.
Step 7: Test the waterproofing and check for leaks by running a hose over the skylight.
Step 8: Enjoy
A few skylight options

I really liked these sunroofs but they are discontinued. Let me know if you find an alternative.
WINDOWS
Step 0: Buy a window (or three). The walls of the big cargo vans are vertical enough to use non-contoured windows. If your van is more curved you will need custom windows. Windows are great but at the expense of insulation and privacy.

One of the most popular window. Often installed above the bed.

~31” x 15”
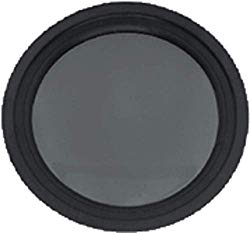
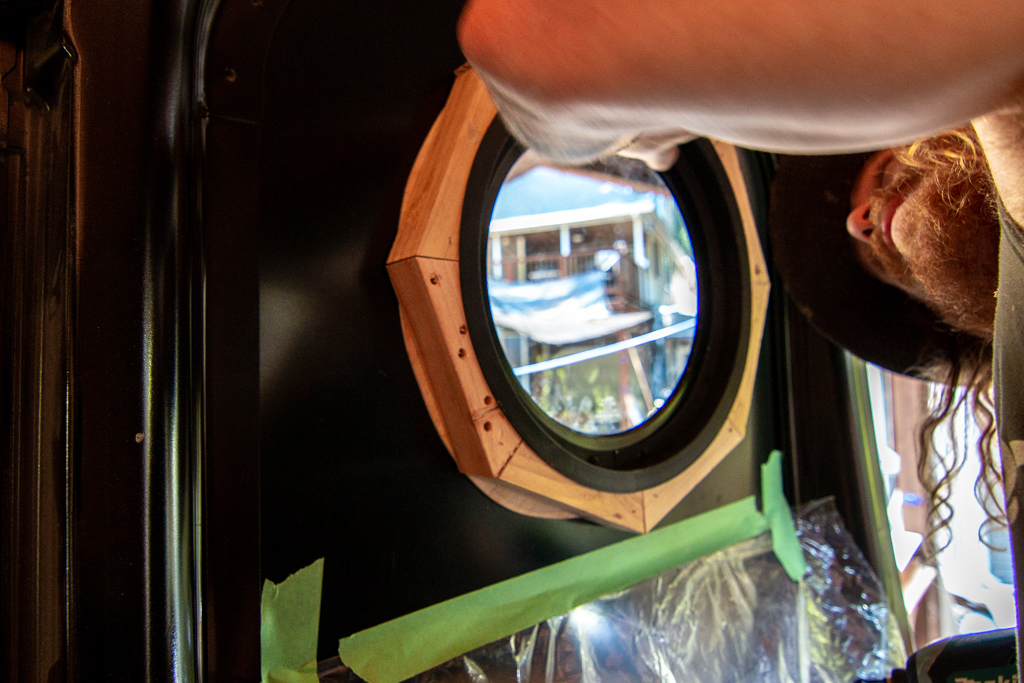
~12” diameter
These are the two windows I installed in my last build.
2-1/4 trim rings are the best match for the thickness of the of the van. However the round portal window only comes with a 1-1/2 trim ring so more woodworking is required but they look super rad.
More window options, Note that a window on the passenger sliding door eliminates a big blind spot:

~41” x 17”
Double-check compatibility before purchasing custom windows!

Promaster driver side window.

Promaster drivers side T-vent

Sprinter drivers side T-vent

Sprinter passenger sliding door

~24” x 15”

Promaster passenger side sliding door, great for eliminating a big blind spot.

Promaster passanger side sliding door T-vent. Caution: If the vent is open it is possible to reach in and unlock the door from the inside

Sprinter passenger sliding door T-vent. Caution: If the vent is open it is possible to reach in and unlock the door from the inside

custom window covers
Step 1: Establish your desired position and trace the inner line of the trim ring. (A trim ring is the inner frame of the window that clamps to the actual window from the inside) Make sure to give space for a frame (2x2’s or other desired thickness). Some of the smaller vertical support beams can be easily removed with a chisel to make room for larger windows.
Step 2: Cut the hole for your window. Start by drilling holes in the corners (where the curve meets the straight part) from the inside. Depending on your window position relative to major support beams, some of the cut might need to be done from the outside. Use your new holes to orient your trim ring and retrace your line on the outside.
Step 3: Paint the raw edge.
Step 4: Build a frame for your trim ring to attach to. Optional: glue the frame to the inside of the van.
Step 5: Line the outside of your window hole with butyl tape.
Step 6: Get a helper to hold the window from the outside while you position the frame and trim ring on the inside
Step 7: Screw the trim ring to the window, pinching the frame. An impact driver is strongly recommended for this. The screws need to be tight enough that the butyl tape starts to ooze out from the edges of the window and creates a water tight seal. If the screws are not tightened enough, your window will not be waterproof.
Step 8: Remove the excess butyl tape from around the window with a plastic putty knife or anything that won’t scratch up your van. This step might need to be repeated a few times as the butyl tape might continue to ooze outwards for a day or two.
Step 9: After the butyl tape is stable, take a hose to it and test its waterproofness. If you have a leak you want to know now, not after your walls are installed. The 3m marine sealant is a great leak stopper but can be tricky to work with.
Step 10: Enjoy the natural light flooding into your van!
Step 11: Add curtains for privacy and keeping light out.